growing · May · 7 min read
Soil Prep for a Flower Farm: What I Actually Do Each Winter
My winter soil preparation routine for the cut flower patch: compost, testing, timing and the no-dig approach that keeps my beds productive year after year.
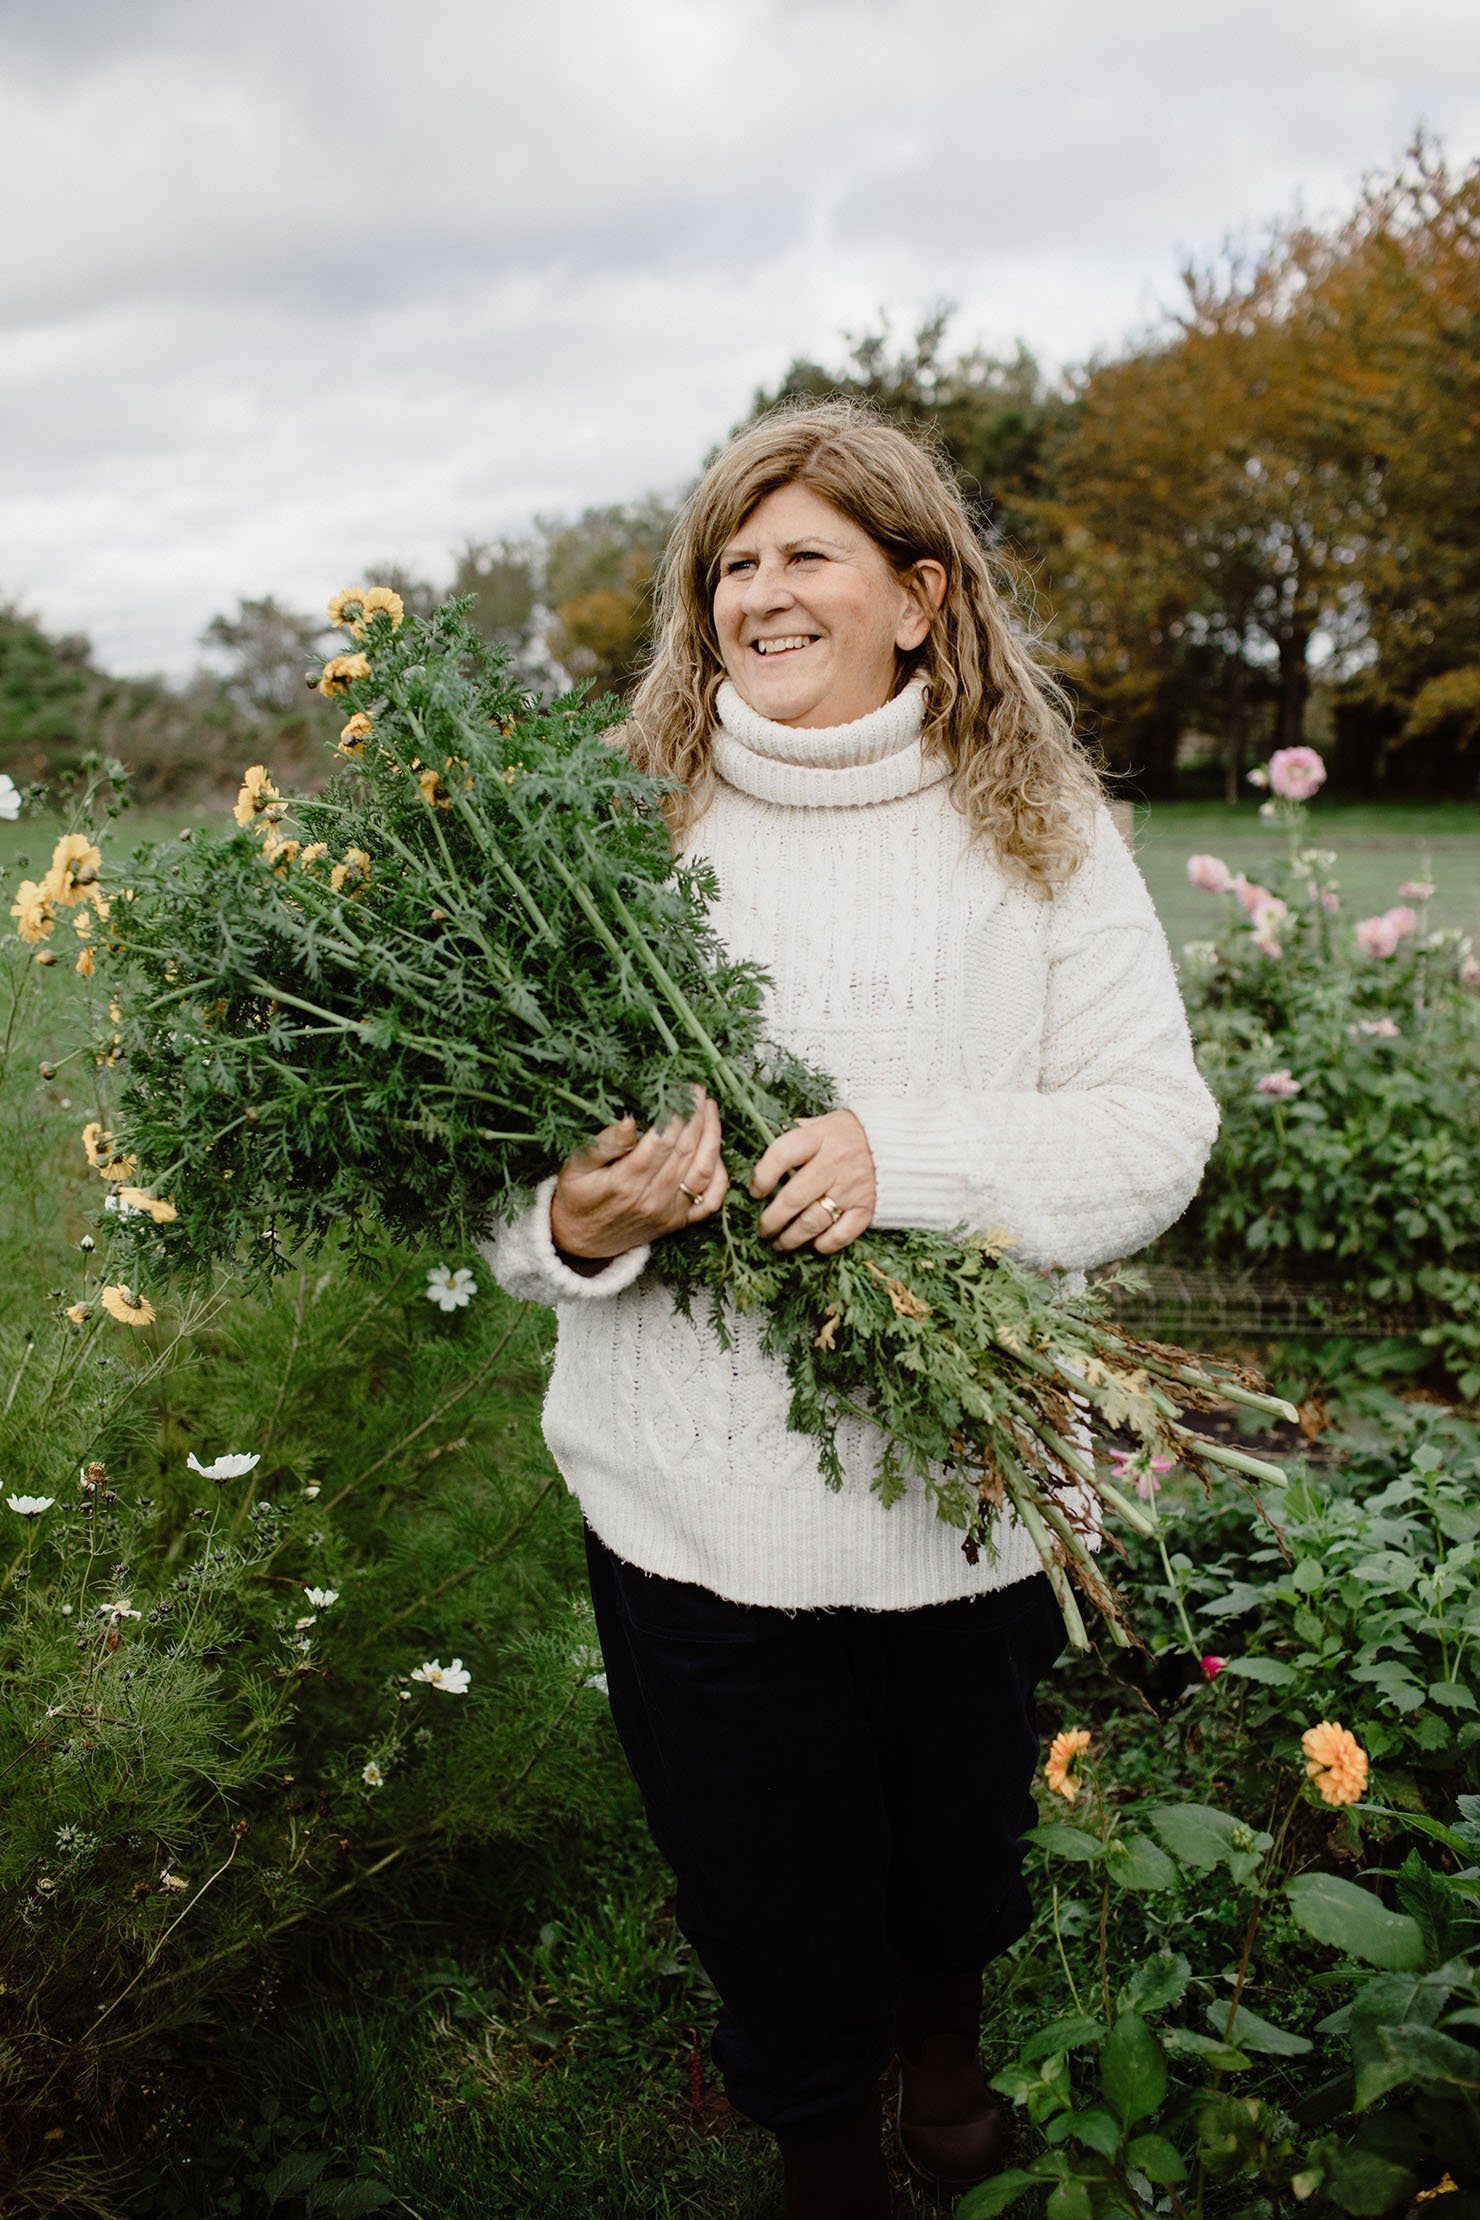

Every November I watch growers panic about spring planting while their soil sits cold and compacted, untouched since harvest. They ask me in January what they should be doing now, and I tell them the truth: you missed the window. Soil prep is a winter job. If you wait until March to sort your beds, you are already behind. The work I do between November and February determines whether my dahlias sulk or sprint, whether my sweet peas climb strong or limp along, whether my first hardy annual sowings thrive or merely survive. This is not glamorous work, but it is the work that pays off from April onwards.
Why I prep soil in winter, not spring
Winter allows time for organic matter to break down. When I spread compost in November, microbes have four months to process it before I plant anything. That slow decomposition improves soil structure far better than fresh material dumped on in March.
Soil structure improves when left undisturbed through frost cycles. Freeze and thaw action breaks up clumps naturally, creating the crumb structure that roots love. I let winter weather do the work instead of fighting it with a fork.
Spring is too late if you want to plant hardy annuals in March. My first outdoor sowings of cornflowers, ammi and nigella go in by mid-March. If I am still spreading compost then, I am weeks behind. I covered this timeline in detail on The Cut Flower Podcast last winter, and it remains the single most common mistake I see new growers make.
The soil test I do every two years
I use a basic NPK plus pH test from a UK lab every two years. Nothing fancy, nothing expensive. I send soil samples from each bed in October, before I do anything else. The results arrive within two weeks and tell me exactly what each bed needs.
Results tell me exactly what amendments to add. One year my dahlia bed tested high in phosphorus but low in potassium, so I skipped the bonemeal and added rock dust instead. Another year my sweet pea bed showed borderline acidic pH, so I limed it lightly in November.
Testing saves money because you only buy what soil actually needs. I used to buy every amendment I saw recommended online. Now I buy what the lab report says I am missing, nothing more. If you are just starting to grow flowers, a soil test gives you a proper baseline instead of guesswork.
Compost: how much, what kind, and when I spread it
I apply 5cm of well-rotted compost or manure in November. That is roughly a full wheelbarrow per four square metres. I measure by eye now, but when I started I actually measured with a ruler to learn what 5cm looks like spread evenly.
Green waste compost works well if it is fully broken down. I buy from a local supplier who hot-composts municipal green waste. It arrives dark, crumbly and cool to the touch. If it still smells strong or feels warm, it is not ready. Unfinished compost can rob nitrogen from soil as it breaks down, exactly what you do not want.
I never dig it in, just spread and leave on the surface. This is pure no-dig flower bed method. Spreading on the surface protects soil structure, feeds worms and suppresses weeds. Digging destroys the fungal networks and soil layers that took all year to establish. Let the worms pull organic matter down. They do it better than any spade.
What I do not do (and why)
I do not rotovate or turn the soil. Rotovating shreds organic matter too fine, destroys structure and brings weed seeds to the surface. Every grower I know who uses a rotovator regrets it within two seasons. The beds look fluffy for a week, then they compact worse than before.
I do not add grit or sharp sand to clay. This advice appears everywhere online and it is terrible advice for flower growers. Grit mixed into clay creates something closer to concrete. The only thing that improves clay long-term is organic matter: compost, every year, on the surface.
I do not use artificial fertilisers or quick-fix products. Slow, steady soil building beats fast chemical fixes every time. I want soil that holds moisture, drains well and grows strong stems. Organic matter does all three. Soluble fertiliser does none of them, it just pushes soft growth that flops.
My actual winter soil prep timeline
November: spread compost. I aim to finish by the end of the month, before heavy rain turns the beds to mud. If I run late, I prioritise the beds I will plant first in spring: hardy annuals, sweet peas, early bulbs.
December to February: let it sit. I do nothing. The beds rest. Rain soaks the compost down, frost breaks up clumps, worms tunnel through. This is when the real work happens, and I am not the one doing it.
March: rake level and plant. By early March the surface has settled and firmed slightly. I rake to a fine tilth for direct sowing, or leave it rougher for plug planting. This timeline works for UK climate and hardy annuals without protection. If you are growing the best flowers for cutting, most of them benefit from this kind of advance soil prep.
Tools that make soil prep faster
A wide rake is essential for levelling. I use a 60cm landscape rake with a long handle. It covers more ground per pass and saves hours over a narrow rake. I keep it clean and hang it properly so it lasts.
A good wheelbarrow saves your back. Mine is a builder's barrow, 85 litres, with a pneumatic tyre. It costs twice what a cheap one costs and lasts ten times longer. I shift tons of compost every November. A wobbly barrow with a flat tyre makes that job miserable.
I use a garden fork only for spreading, never for digging. I lift forkfuls of compost from the pile and shake them out over the bed surface. That is the only time a fork touches my beds. I do not turn soil, prick out lumps or lever up roots. Fork work destroys structure.
Common mistakes I see growers make
Adding compost too late in spring. If you spread compost in March and plant into it in April, the soil has not had time to integrate the organic matter. You get uneven germination, patchy growth and a messy surface that dries out fast.
Digging or turning soil and destroying structure. I see growers double-dig new beds every autumn, proud of the work. Two years later they wonder why their soil has compacted into a brick. Undisturbed soil builds structure. Disturbed soil loses it.
Not testing soil and guessing what it needs. You cannot see phosphorus deficiency or pH imbalance with your eyes. Guessing costs money and time. Testing costs thirty pounds and gives you facts. I learned this the expensive way, adding amendments I did not need and skipping the ones I did.
Using unfinished compost that robs nitrogen. If your compost still smells of grass clippings or feels warm in the middle, it is not ready. Spreading it now means it finishes decomposing in your beds, using nitrogen that your plants need. Wait until it is cool, dark and crumbly. I know it is tempting to use it early. Resist.
Final thought
Soil preparation in winter is not exciting. It is cold work, heavy work, and you see no immediate results. But in April, when I am planting strong plugs into soft, crumbly beds that warm quickly and drain well, I am grateful I did it. In May, when my sweet peas climb two metres and my cornflowers stand straight in the rain, I know it was worth it. Every hour I spend in November saves me three hours in spring, and it grows better flowers besides. This is the work that matters.
If you want a proper foundation in soil health, planting, cutting and arranging flowers that actually sell, my Best Bunch course covers everything in detail. It is the course I wish I had when I started. You get my step-by-step system, video tutorials, seasonal checklists and direct access to me for questions. Soil preparation is just the beginning. The course shows you how to turn good soil into productive beds and profitable bunches, month by month, from January through December.
Frequently asked
How much compost should I add to my flower bed each year?+
I spread a 5cm layer of well-rotted compost or manure over the entire bed surface each November. That works out to roughly 50 litres per square metre. If your soil is very poor or new, you might do 8 to 10cm in the first year, then maintain with 5cm annually.
Do I need to dig compost into the soil?+
No. I spread it on the surface and leave it. Worms and soil biology do the work of incorporating it for you. Digging destroys soil structure, brings up weed seeds, and damages the fungal networks that help plants thrive. Surface application is easier, faster and better for soil health.
When is the best time to prepare soil for a flower patch?+
November is ideal. The compost has all winter to settle and break down, the weather does the work, and your beds are ready to plant by March. If you miss November, early December still works, but avoid January or February when soil is frozen or waterlogged.
What kind of compost is best for cut flowers?+
Well-rotted farmyard manure or homemade compost are my top choices. Green waste compost from the council works well if it is fully broken down with no large woody bits. Avoid anything with visible straw, fresh grass clippings or a strong ammonia smell, because it will rob nitrogen as it breaks down.