growing · April · 6 min read
Composting on the Flower Farm: a system that actually works
A simple three-bay system turns tonnes of spent stems, weeds and green waste into the best soil amendment you will ever use on your flower beds.
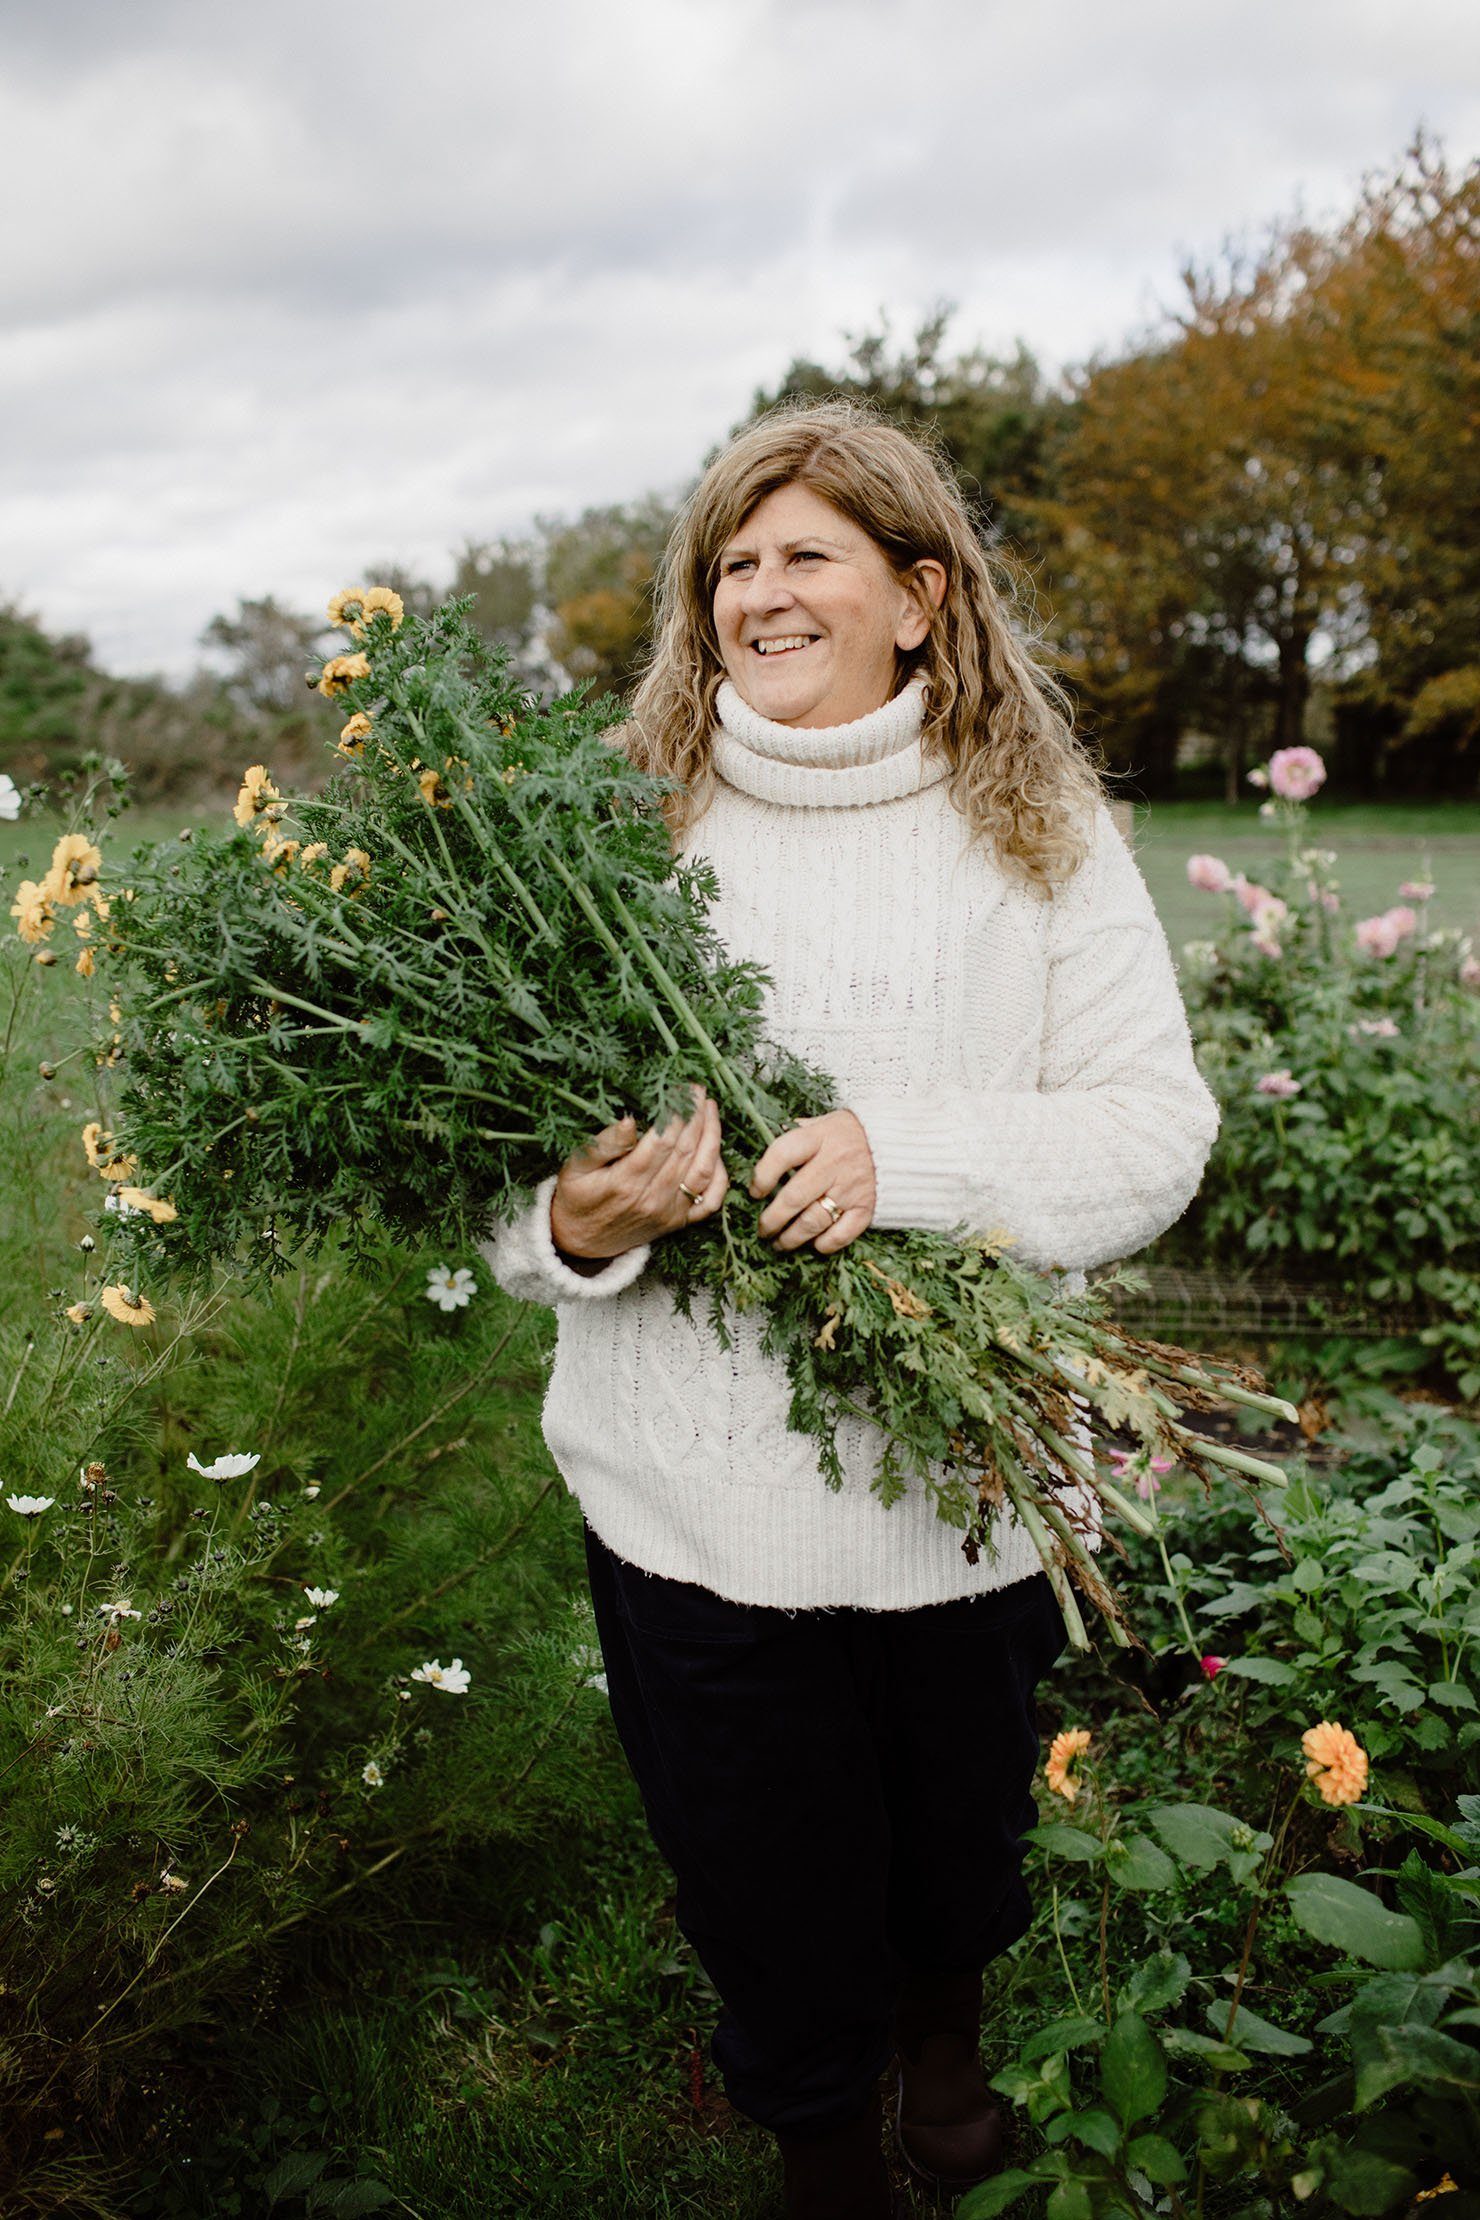

Last November I emptied my first compost bay of the season and spread six wheelbarrows of dark, crumbly goodness across a new dahlia bed. The material had cost me nothing but a bit of elbow grease, and it transformed tired soil into something that held moisture beautifully through the following summer. If you grow flowers at any scale, you generate tonnes of green waste every year: spent dahlia plants, pulled sweet pea vines, mountains of cosmos after the first frost. Learning to turn that waste into a resource is one of the most satisfying systems you can build on a flower farm.
Why composting matters on a flower farm
A typical half-acre flower farm produces several tonnes of green waste annually. When I cut down dahlias in late autumn, pull out sweet pea plants in July, or deadhead cosmos through August, all that material has to go somewhere. Buying in compost or soil improver costs hundreds of pounds each season, and the quality varies wildly depending on supplier.
Making your own compost closes the loop and builds soil fertility year on year. The stems and leaves that fed on your soil go back into it, along with any nutrients they pulled up. I use finished compost as a mulch on my no-dig flower beds, as a soil improver when preparing new ground, and as an ingredient in my own potting mixes. It is one of the cornerstones of how I manage soil health without relying on bought-in inputs.
The three-bay system I use
I run a three-bay system, each bay roughly 1m x 1m x 1m. Bay one receives fresh material as I generate it through the season. Bay two is where I turn material to get it heating properly and breaking down fast. Bay three holds the maturing compost that is nearly ready to use.
Simple pallet construction works fine, or you can use timber slats with gaps for airflow. I built mine from reclaimed scaffold boards and corner posts, nothing fancy. The key is having enough volume in each bay to generate heat, which is why I stick to a minimum of one cubic metre. Smaller heaps rarely get hot enough to break down effectively, especially in our climate.
If you are just starting to grow flowers and do not yet have the space or volume for three bays, begin with two. Use one for active composting and one for maturing. You can always expand as your waste stream increases.
What goes in, what stays out
All healthy plant material goes in: spent annuals, soft prunings, annual weeds before they set seed, grass clippings in thin layers. I add shredded paper from the office, cardboard torn into strips, and any straw or hay that has got damp and is no longer useful as mulch. The green materials provide nitrogen, the brown materials provide carbon.
What stays out: perennial weeed roots (bindweed, couch grass, ground elder), any diseased stems or foliage, and thick woody material unless I have shredded it first. I learned this the hard way when I added dahlia tubers infected with verticillium wilt, and the pathogen survived composting. Now anything diseased gets bagged and sent off-site.
Aim for roughly 50:50 green to brown by volume. Layer like lasagne: a 15cm layer of green plant waste, then a 10cm layer of shredded cardboard or straw, then green again. This keeps air pockets open and prevents the heap collapsing into a slimy, anaerobic mess. If I have a glut of one type of material, say a massive pile of grass clippings after mowing paths, I mix them thoroughly with cardboard before adding them to the bay.
Managing the heap: turning, temperature and timing
Once a bay is full, I turn it into the next bay. This means forking the entire heap from bay one into bay two, mixing as I go. I do this weekly for the first month to keep the temperature above 60°C, which kills weed seeds and breaks down material quickly.
A compost thermometer is useful, but I often just shove a long metal rod into the centre of the heap, leave it for a minute, then pull it out and feel it. If it is too hot to hold comfortably, the heap is working. If it is barely warm, something is wrong: usually the heap is too dry, too wet, or does not have enough green material.
Add water if the heap is too dry. I use a watering can or hose and soak each layer as I turn. Add shredded cardboard if the heap is too wet or starting to smell. A healthy heap smells earthy and slightly sweet, not like rotten cabbage. I have discussed compost troubleshooting on The Cut Flower Podcast a few times, and the most common issue is always moisture balance.
When your compost is ready to use
Compost is ready after three to six months, depending on the season and how often you turned it. Summer heaps break down faster than winter ones. You will know it is done when it is dark, crumbly, sweet-smelling, and you cannot identify individual plant parts anymore.
I use finished compost as a 5cm to 8cm mulch on no-dig beds in early spring, spreading it around emerging perennials and over areas where I will direct-sow annuals. It suppresses weeds, feeds soil life, and improves moisture retention. If I am digging new ground or renovating a tired bed, I incorporate a full wheelbarrow per square metre before planting.
Sometimes I sieve compost if I want a finer texture for seed sowing or potting mixes. Anything that does not pass through a 1cm mesh goes back into the active bay for another cycle. This is usually half-rotted twigs, tough stems, or the odd bit of unshredded cardboard.
Common mistakes and how to avoid them
Too wet and anaerobic is the classic mistake. The heap turns slimy, smells foul, and attracts flies. The fix is to turn it and add a thick layer of shredded cardboard, straw or dry leaves. Mix thoroughly and the cardboard will soak up excess moisture and reintroduce air pockets.
Too dry and nothing breaks down. The heap just sits there, barely warm, full of recognisable leaves and stems months later. Water thoroughly as you turn, until the material feels like a wrung-out sponge. Keep checking moisture levels, especially during dry spells in summer.
Not enough volume means the heap never heats properly. If you are adding material in dribs and drabs, the heap loses heat faster than it generates it. Wait until you have enough material to fill a bay in one go, or at least half a bay. Store green waste in a pile to one side until you have critical mass, then build the heap properly in layers.
Another mistake is adding thick, woody stems whole. They take years to break down and create air pockets that are too large, cooling the heap. Either shred them first or save them for a separate slow-composting area. I keep a pile of chunky prunings that I use as path edging or leave to rot down over two to three years before adding to the main system.
Composting is one of those practices that seems straightforward until you actually do it at scale. If you would like personalised advice on setting up systems that work for your specific site, soil and scale, my 1:1 mentoring sessions give you direct access to everything I have learned in two decades of flower farming. We cover composting, soil building, crop planning, and any other practical challenge you are facing. Book a session and we will work through it together.
Frequently asked
Can I compost dahlia tubers and other bulbs?+
Only if your heap gets properly hot, above 60°C for at least a week. Otherwise tubers and bulbs survive and sprout everywhere. I put doubtful material in the council green bin or a separate cold pile for two years before using it.
Do I need to add activator or bought products?+
No. Fresh green material like spent flowers and grass clippings provides all the nitrogen you need. Urine works brilliantly if you are short on greens. I have never bought an activator in twenty years of composting.
How long does flower farm compost take to make?+
Three to six months if you turn it regularly and keep the balance right. In summer with frequent turning I have had usable compost in ten weeks. In winter it slows right down, so I start heaps in March and September for best results.